|
Wiring Guide for 18-Pin ILI9341 SPI Adapter Step 1 Prep the back of the screen with kapton tape and the back of the ribbon cable with masking tape. I recommend two layers of blue painter's tape. Several layers of a skinnier tape will also work. You can also trim the white plastic nubs in the four corners. 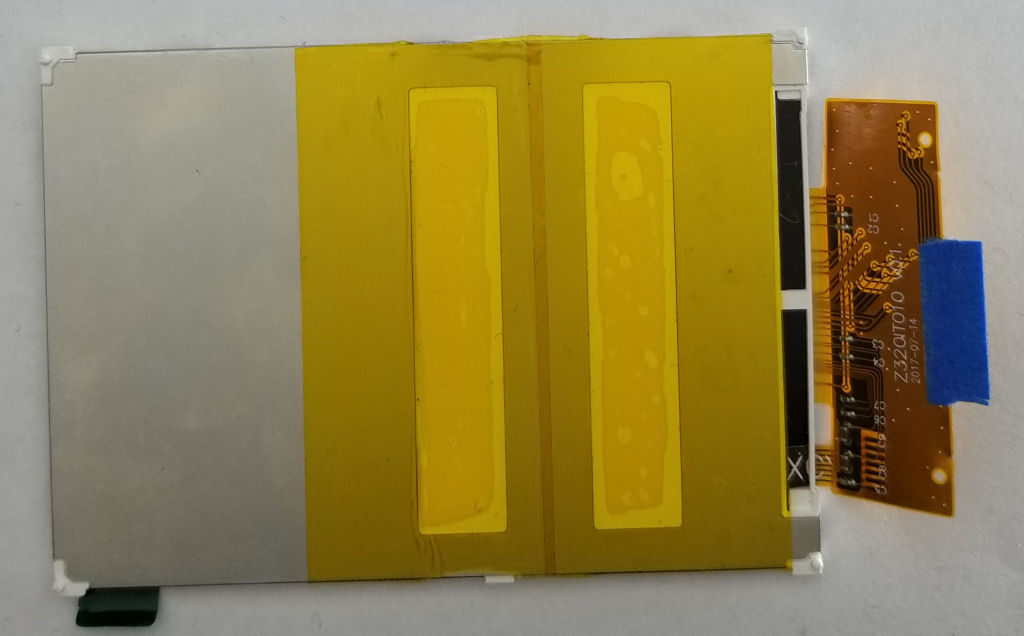 Step 2 Slot the screen's ribbon cable into the connector and make sure it's seated firmly. (See option A) 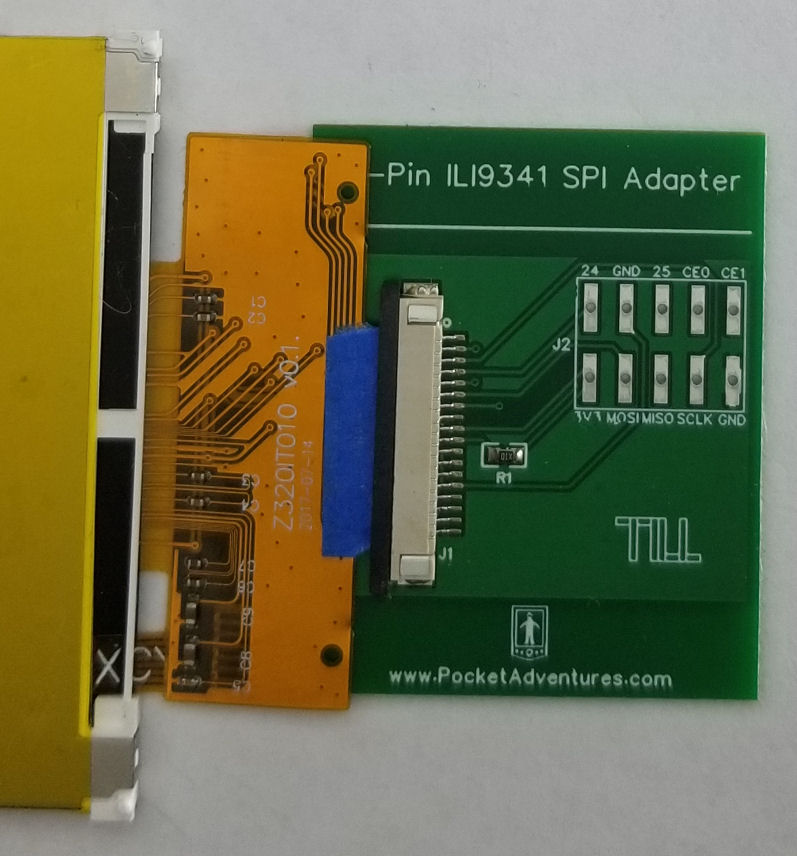 Step 3 Attach the header pins and place into screen bracket. (See option B) 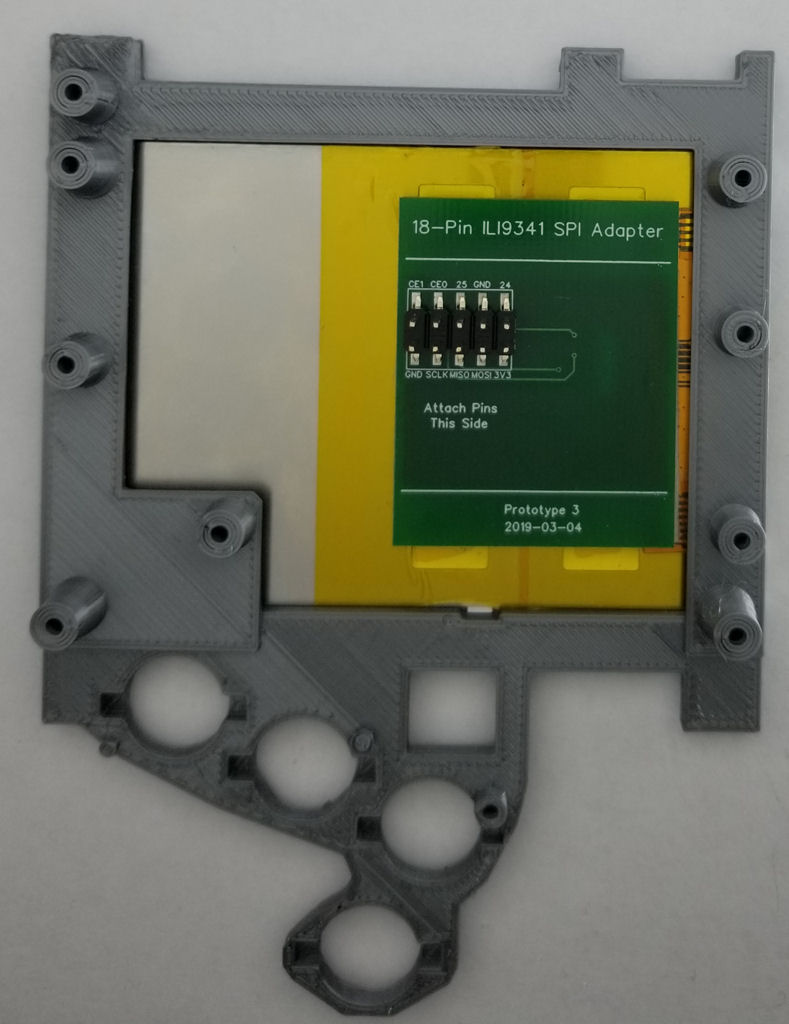 Step 4 Place the Pi (and GPIO Assist board if used) so that the correct pins align, and then solder to the Pi. Only the right 8 pins are used. The excess header posts can be trimmed. 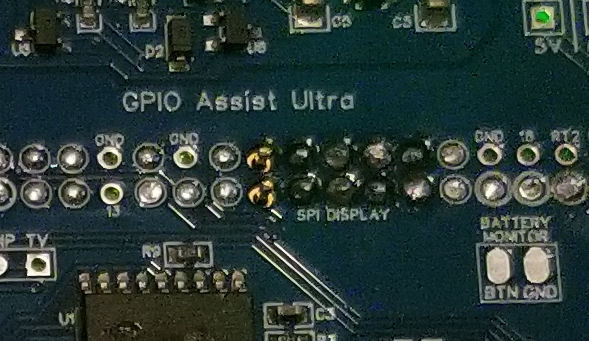 Options A. Remove the connector from the PCB and solder the screen directly to the PCB. B. Use wires instead of the header pins. Then the Pi can be placed anywhere. |
Copyright © 2026 Pocket Adventures.com